Since I bought the LV Bench Plane a few months ago I have been using it occasionally and I knew that I would soon have to sharpen it. I also came across an old Record Smoothing Plane that I acquired a few years ago from my father-in-law that needed a fair amount of TLC to make useable. This was a great opportunity to get some hands-on instruction on how to sharpen and tune up these planes.
The instructor for the seminar was Jay Perry. Jay has taught at the Nova Scotia College of Art and Design for over 20 years and now teaches woodworking classes at the Nova Scotia Centre of Craft and Design. His woodworking interests include making musical instruments, woodworking for the theatre and, of course, planes. He is also a member of the Atlantic Woodworkers Association.
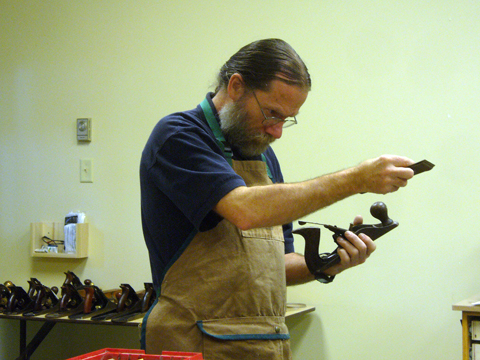
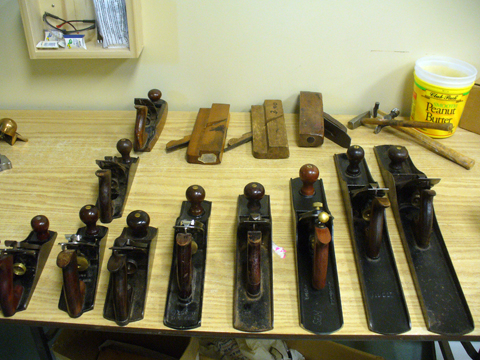
Jay obviously knows his planes! He is not a collector per se though he owns a lot of them. He buys them, restores them and then uses them. Here is a photo of a few of his planes that he brought in:
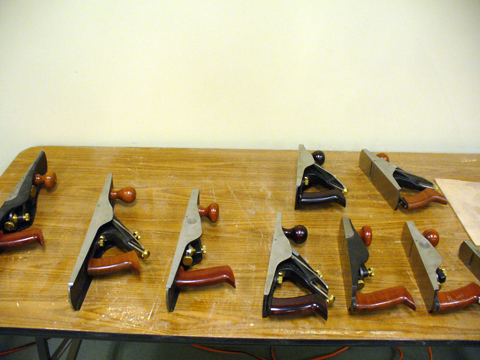
There was also a display of all the Lee Valley planes there for our perusal. It was nice to be able to have close-up views of these tools and to be able to pick them up and compare them. The low-angle bevel up smoother plane was a beauty to hold and behold. :):
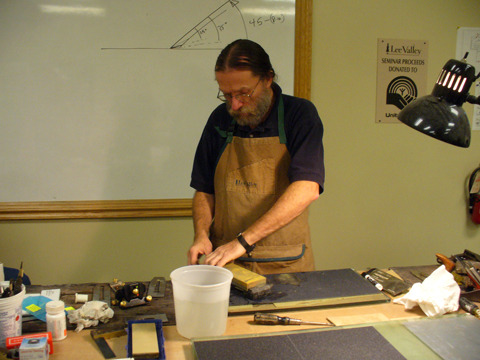
Since this was a hands-on class we spent a lot of the time working on our own planes with the availability of individual instruction and suggestions from Jay. However, the class started with a demonstration of the lapping and honing of the plane blade with a bit of theory thrown in for good measure. This included the use of the various abrasives used, the use sandpaper, lapping grit and water stones and their varying grit sizes. We were also introduced to the need for acquiring a flat, stable work surface, like granite and thick glass, when using sandpaper and lapping grit to lap the blades and soles, as well as truing up the water stones.
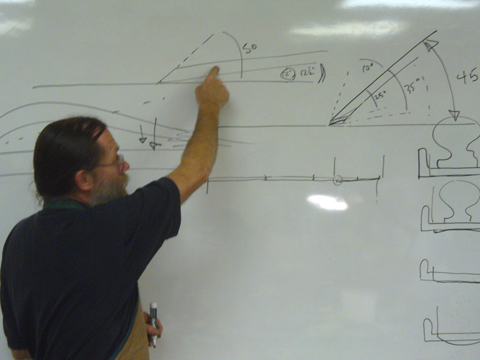
Throughout the day there was discussion on possible uses on a variety of planes, the pros and cons of using a honing jig versus doing by hand, the different metals used in blades and the overall care and maintenance of a plane.
The day finished with a demo on lapping the sole of the plane as well as a short demo on grinding a new edge to a plane blade.
There was a lot of great information packed into a short time. In addition to several handouts that we received taking notes was definitely in order. Here are a few that I jotted down:
- The blade must be ‘lapped’ before honing the edge. Lapping is the process of flattening the blade so as not to wobble against the plane’s chipbreaker and cause chatter.
- If using a glass plate for lapping use a minimum of 1/2″ thick glass or thicker. Because of the pressure you will apply it will cause thinner glass to bow.
- Adhere wet/dry sandpaper to glass or granite with spray on adhesive.
- Use 120 grit or 100 grit on your glass or granite to sand off rust and flatten stones
- Use a bit of water on sandpaper when lapping.
- Lap in a circular motion with even hand pressure.
- True up your water stones frequently, relative to use.
- If using ‘lapping grit’ use with laminate plastic to protect the glass or granite.
- A2 blade is much harder steel and is preferred but will be harder to sharpen.
- Woods with wild grain requires a steeper blade angle.
- Use an eye loupe for viewing the blade after lapping for a better view of your progress.
- The blade profile depends on the plane’s intended use. Most have the blade wings ground slightly back so as not to catch. If using the plane for jointing the blade must be flat across the edge.
- When the burr is created across the full length of the blade it is honed/sharpened. Then run the blade across the highest grit in one direction to remove the burr.
- Watch the pressure of your fingers when honing. You may bend the blade causing a concave or convex ground. You can use this process to grind the wings back. Do not make concave!
- When honing, pressure is only applied when going forward.
- A couple of swipes of candle wax on the sole of the plane will make it glide better.
- Have all the parts in the plane when lapping because when everything is tightened it will change the shape of the bottom somewhat.
- The area of the sole directly in front of the blade is a critical spot.
- It’s possible to use a carbide tipped paint scraper to first lap a badly shaped sole.
- At 300 degrees the temper is removed from steel. At this point it turns blue and becomes brittle. You must remove the blue metal to ensure you are working with tempered steel.
- Stanley planes manufactured before World War II are preferred over those made later because of the workmanship and metals used.
- The #4 smoothing plane is the most common plane and the #4 1/2 smoothing plane is heavier, a bit longer and wider than the #4.
The Veritas MK.II Honing Guide was available for our use and after a just a few minutes of using it I could see why it is so popular. It was easy and simple to set up and use. The biggest benefit, of course, as with all jigs, the opportunity they give for repeatability. I can see this tool becoming a part of my sharpening arsenal. 🙂
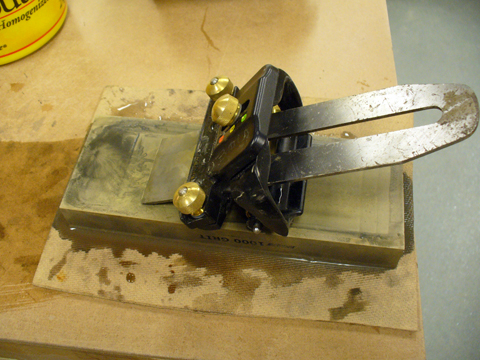
Because the old Record plane required quite a bit of work on the blade I never got the chance to finish lapping the sole of the plane. However, I feel I did walk away from the seminar with all the knowledge and confidence that I need to complete this task as well as the sharpening and caring for my planes and chisels in the future. As I move more to the use of these hand tools in my woodworking the skills I learned today will undoubtedly be the solid foundation I was hoping to achieve.
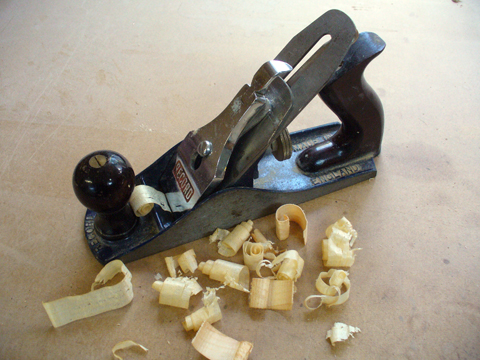
Once again, thanks to Lee Valley and Scott Croucher for putting on another great seminar.
Special thanks to Jay for taking the time to share his vast knowledge on a subject that is quite obviously dear to him. It was an awesome day!
Back to the shop…

Shirlee Haldi
Great information 🙂