
When I first started to apply the first coat of polyurethane (MinWax Wipe-On Poly) all seemed well but then I started to notice that the stain was starting to lighten. The more I looked the more I realized that I was actually rubbing off the stain! Since I wasn’t using any excessive pressure I figured that the stain was not thoroughly dried yet (although it had been drying for 3 days and by all accounts appeared dry). I stopped doing the rest and, of course, had to re-sand and re-stain the pieces that I had applied the poly to.
This time I let the stain dry for over a week and attempted to wipe on the poly again but the same thing happened! Perplexed, I re-sanded and re-stained the pieces again.
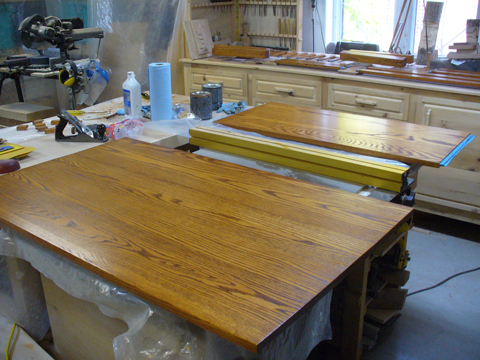
Not taking anymore chance I let the stain dry for two weeks this time and because wiping the poly on was removing the stain I decided that I would brush it on. So that’s what I did, over a period of a week I brushed on several coats of wipe-on poly. It finally finished up beautifully. 🙂
Once the poly was dried, (and boy, did I let it dry!) it was time to put it all together. Here are some photos of this process:
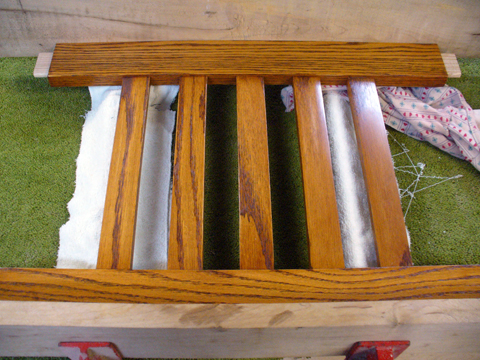
Here is one of the ends glued and clamped together:
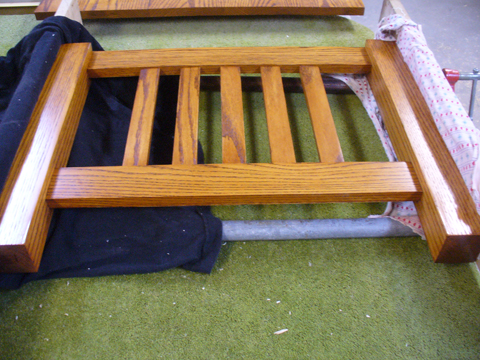
And here is now with the legs attached:
Once these were dried the skirt and bottom shelf was glued and clamped together:

Then it was flipped over and the table top was attached using the ‘buttons’:
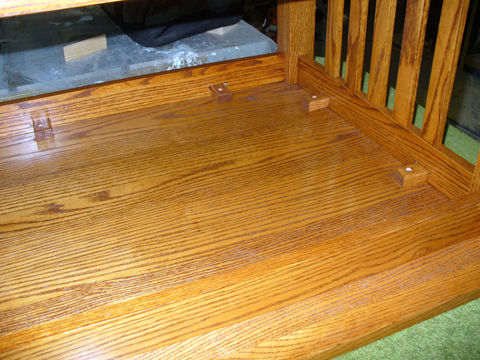
Now, because of the abuse that a table top can be subject to I will give it several more coats of polyurethane to ensure a durable and long-lasting finish.
You can follow along with the building of the rest of this project via these links:
Back to the shop…