Wikipedia describes a peel as “a shovel-like tool used by bakers to slide loaves of bread, pizzas, pastries, and other baked goods into and out of an oven. It is usually made of wood, with a flat carrying surface (like a shovel’s blade) for holding the baked good and a handle extending from one side of that surface”.
The idea is that the item to be baked can be easily transferred to the oven and slid off right on to the hot baking surface, in my case this would be a ceramic baking stone. Baking this way gives a better crust to the baked item, therefore more flavourful.
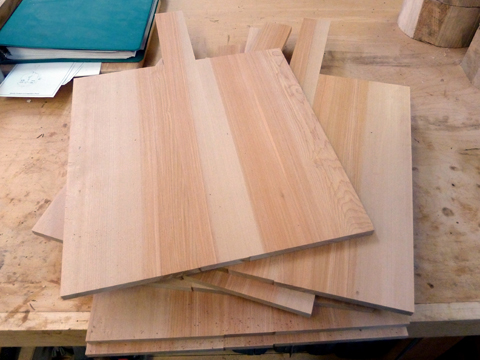
We chose to make six peels only because the wood that we were starting with was approximately 1.5 inches thick. By resawing this into the required 3/8 inch thick pieces gave us enough wood for six peels, so we thought why not?
If you’re interested in making your own here’s how to make a pizza peel:
Here’s the simple plan that we made. The sizes were based on the size of our baking stone so you might have to adjust them according to your specifics.
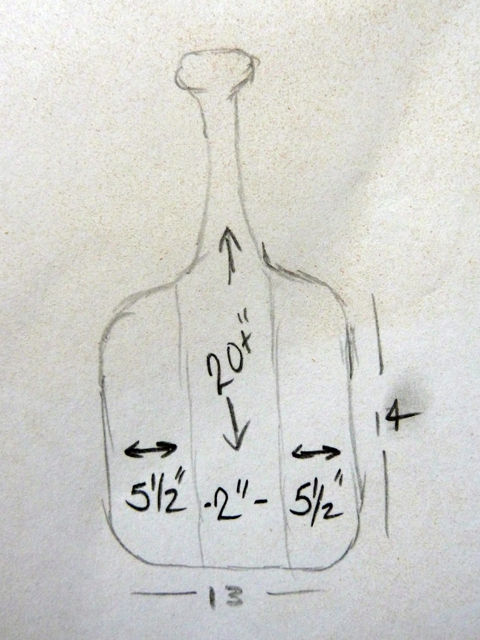
You will need 2 pieces of Maple 5 1/2 inches wide X 14 inches long X 3/8 inches thick and 1 piece 2 inches wide X 20 inches long X 3/8 inches thick.
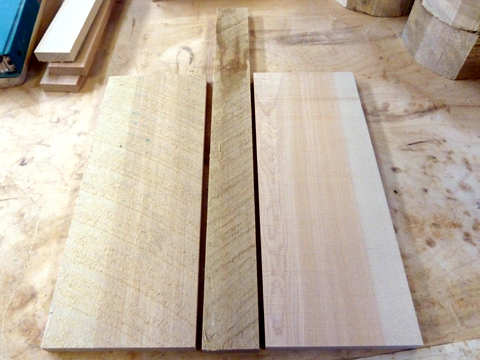
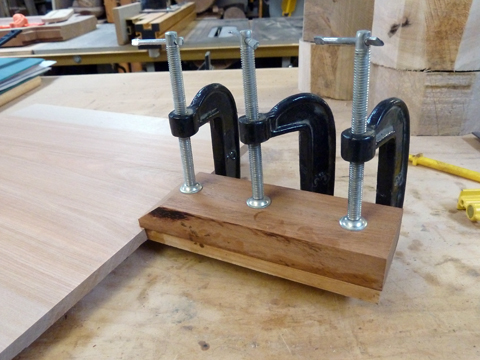
Then glue and clamp it and let dry:
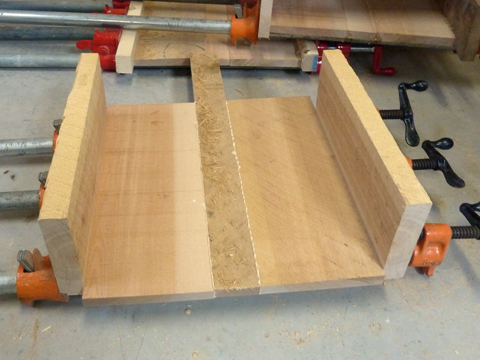
Once dry you’ll have something like this:
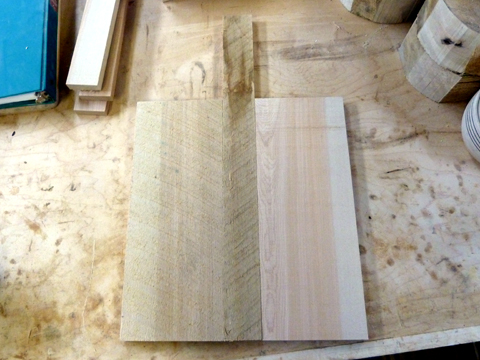
Then plane this down to around 5/16th – 1/4 inch:
Next, make the handle addition. For these we used contrasting colored wood like Padauk, Walnut and Jatoba. The addition must be 2 inches wide X 6 1/4 inches long and 3/4 inches thick:
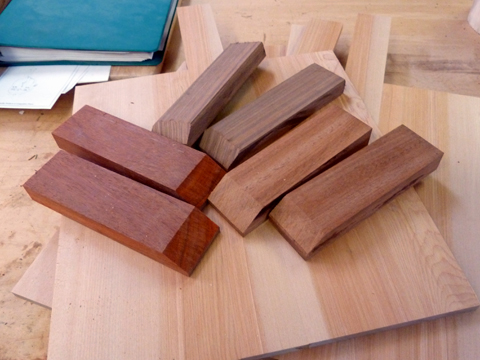
Then glue it to the handle of the peel and let dry. We chose to make the handles this way so that it would keep the peel flat on your counter while adding a contrasting focal point.
Next, we made a pattern to mark the shape that we wanted for the peel and handle:
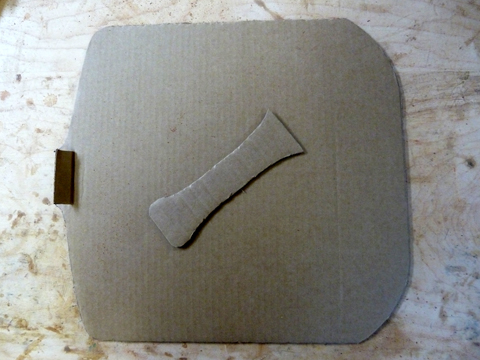
After bandsawing the peel to shape we took our grinder and shaped the handle:
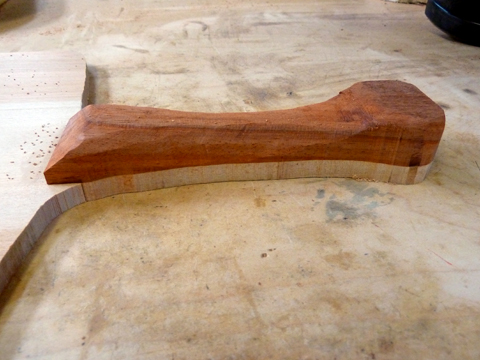
And then we shaped the front edge of the peel with a slope on the belt sander:
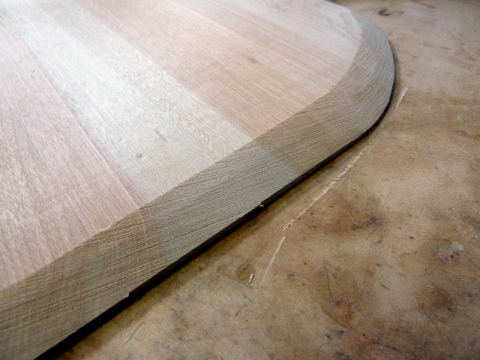
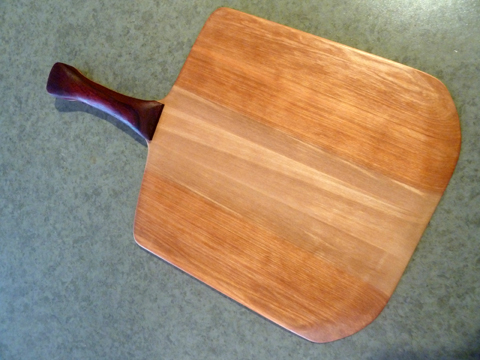
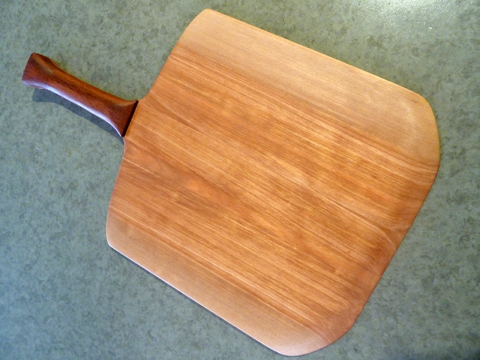
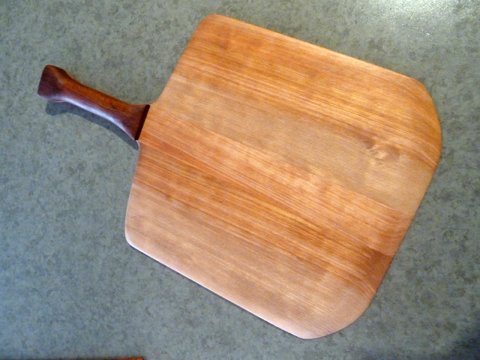
After sanding the peel we gave it a couple of coats of mineral oil. Here’s how ours came out:
With Paudauk handles:

With Walnut handles:
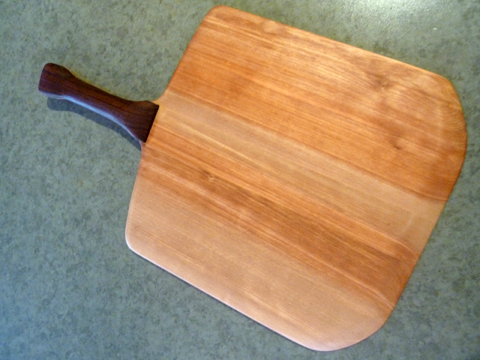
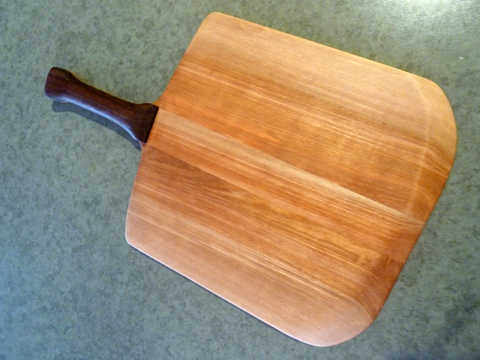
With Jatoba handles:
So now you’re probably saying, “Yeah, they look pretty but do they work”. Well, here’s the before:
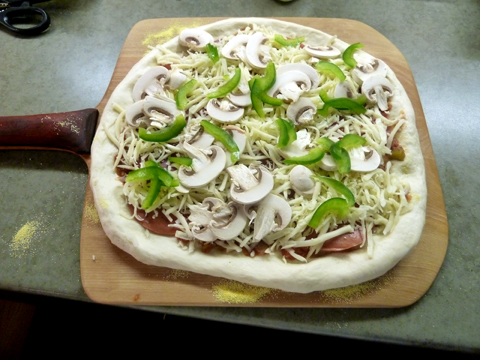
And here’s the after:
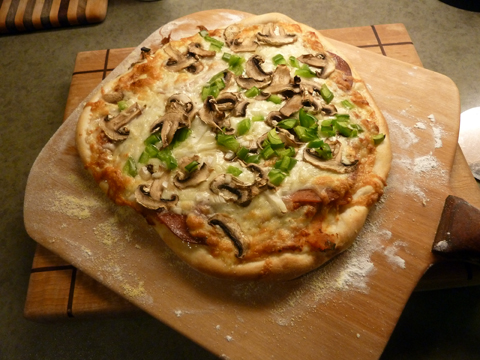
Oops, here’s the after:
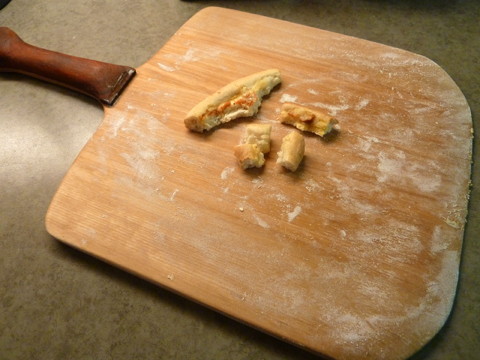
As you can see, it works very well. 😉
One note, there are a few tricks to getting the pizza off the peel and onto your baking surface easily. It starts by having all your toppings ready so that the dough doesn’t spend a lot of time on the peel where it can stick, then use ample flour and cornmeal on the peel and finally, develop a ‘quick pull’ action to get the pizza off.
Obviously this was a fun project with great rewards! 😉
Back to the shop…

kz1
Nice Peel. The only thing I use to get the pizza off the peel and on to the stone is cornmeal. The last time I made pizza I forgot to recoat the peel with more meal after sliding a pie into the oven and ended up with a calzone-like wad hanging half on/half off the peel!
Woodworker's Guide
Thanks! Yes, I’ve made a few ‘calzones’ too!
Nate
So you just glued the wood together? And is the handle only on the top – or did you put a bit on either side?
Woodworker's Guide
Nate, yes, it is all glued together. The piece of exotic wood is one piece and also glued to the handle.
Dennis Von Linden
Saw your pizza peel on Lumberjocks.
Love the project & will attempt one from your tutorial for the Mrs.
Keep up the great work.
Stay well,
Dennis
Woodworker's Guide
Dennis, great!, let me know how you make out!
Daris
I really like the pizza peel. This looks like a great weekend project. Not sure I’ll use exotic woods, but I really like the look of what you used.
Woodworker's Guide
Thanks, Daris, looking forward to seeing your version!