
We don’t use a disk sander all that often but it’s certainly nice to have access to one when we do need one so we decided to build one as a lathe attachment. This way, we’re not taking up valuable shop floor space or have the expense that we would with a stand alone disk sander. When this unit is not in use we can throw it on a shelf, under a bench or hang it on a wall out of the way until we need it. Setting it up consists of screwing the disk on to the lathe spindle and clamping the table onto the bed of the lathe – it only takes a few minutes.
We made the disk and the table from plywood and the faceplate out of Maple. So that we can easily add and remove different grit sanding disks we incorporated SIA’s Siaklett Disc system, which uses a handy hook and loop method to adhere the sanding disk.
There are all kinds of plans on the Net for making a disk sander for the lathe. Here’s how we made ours:
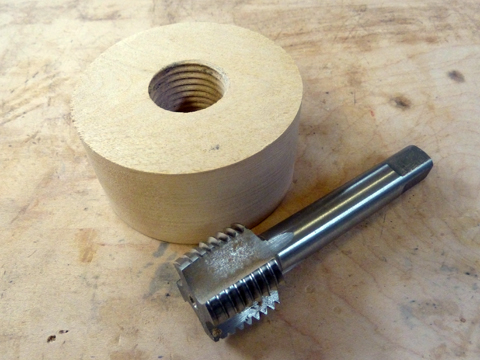
First, we made the faceplate by turning a piece of Maple and then tapping it with a Beall Lathe Spindle Tap:
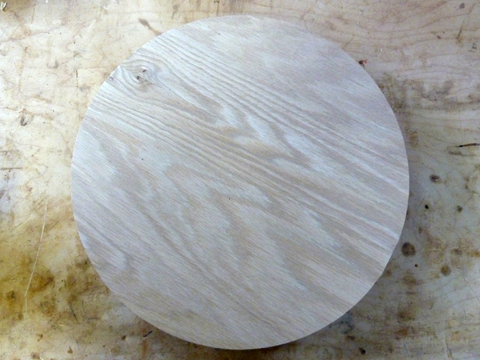
Then we cut a disk out of 3/4 plywood slightly larger than the required 12″ of the Siaklett Disc by using my Bandsaw Circle Cutting Jig. We cut it slight larger to ensure that there will be room for any error in centering the faceplate on the disk:
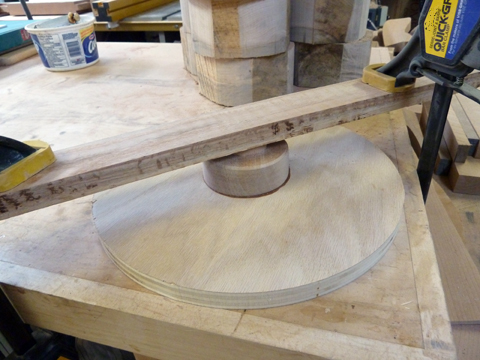
Then we glued the faceplate to the center of the plywood disk, clamped it and let it dry:
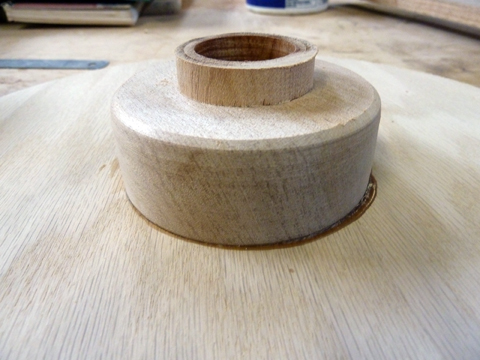
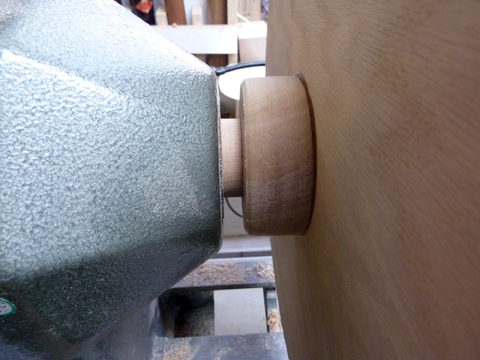
Here’s the faceplate glued to the disk, showing how we turned the faceplate so that the recess is the diameter of the revolving area of the spindle on our lathe:
Here’s how the faceplate looks mounted:
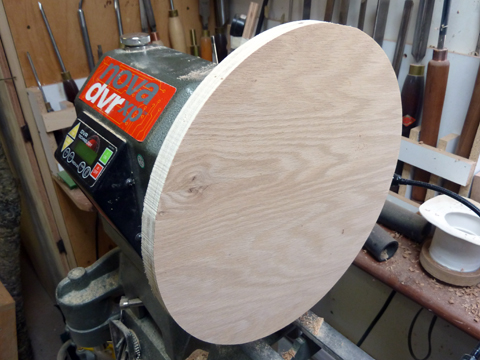
Here’s a front view of the mounted disk as we get ready to turn it to the exact size required:
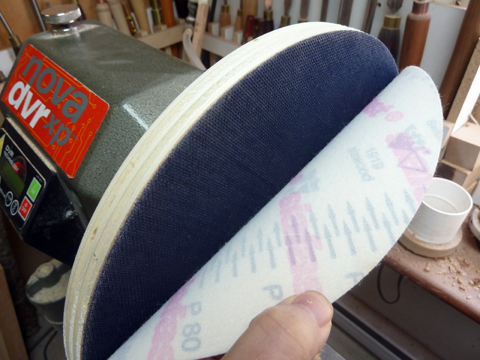
Once the plywood disk was turned to size we stuck the Siaklett Disc to it. There were no instructions with it so we assumed that it would stick to the bare wood. Just to be sure we clamped it for a few hours the same way that we clamped the faceplate above. Then we stuck the sanding disk on:
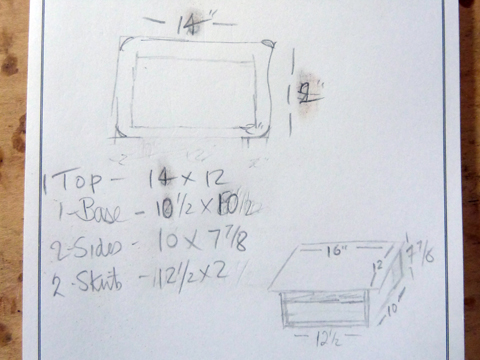
Next we cut the 3/4 plywood to the sizes that we wanted the completed table:
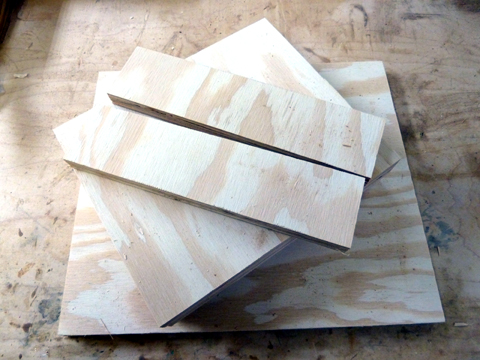
The size of the table really depends on the size of your lathe. The table top should be at center or just slightly below. Here’s the rough plans we went by:
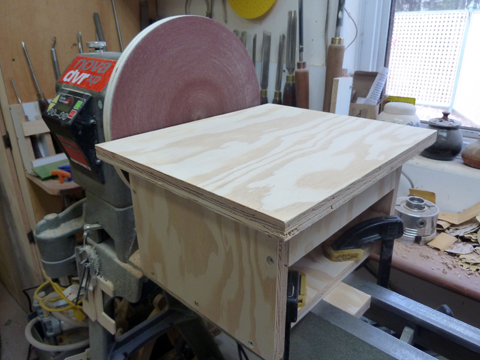
Here’s another photo of the completed disk sander. In this photo you can see the piece of plywood that is screwed to the bottom of the table and sits between the bedways for support and to keep the box centered. As well, we’re showing how we clamp the box to the lathe. In use, these are clamped near the headstock because we insert the dust collector hose in through the tailstock end.
That’s about it!
We hope to put a piece of laminate on the table top at some point, as well as a miter gauge track but we will do these at a later date, as they becomes necessary.
So far the Siaklett Disc system is working out just great. It’s simple as a pimple to change grits and the sanding disks stick very well. It cost a bit more to set up with this system than just using the traditional peel and stick type sanding disks but we didn’t want to go through the hassle of trying to remove the sanding disk when it was wore out. We have a small 5 inch disk sander that uses peel and stick and that’s trouble enough. We also didn’t want to have to build a separate plywood disk for each grit that we want to use.
If you’re interested in building your own disk sander for your lathe you can get both the Siaklett Disc and the sanding disks from Busy Bee Tools.
Finally, we’ll leave you with something to think about – since a lathe is essentially just a motor with a horizontal shaft there are numerous attachments that can be made to secure this tool’s position as the must-have shop tool. For example, in addition to the disk sander, you can make a V-drum-like sander attachment and a belt sander attachment. Likewise, there’s a variety of other shaping options like inflatable drum sanders, flap sanders, wire wheels, etc. that can be attached to the headstock using a Jacob’s chuck . Of course, there’s a also lot of drilling options too.
Back to the shop…