
I recently finished the matching Craftsman Style End Tables that I started a few months ago.
These tables are pieces two and three of a four piece set that began with the coffee table and will also include a sofa table.
Building these went a lot easier than the coffee table since a lot of the steps and procedures were already developed. The only basic difference was the addition of a drawer.
The tables are made with the same Red Oak that I got from the salvaged church pews a couple of years ago:
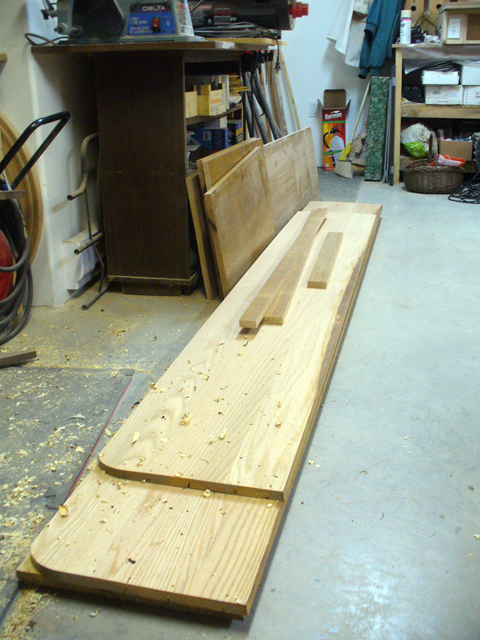
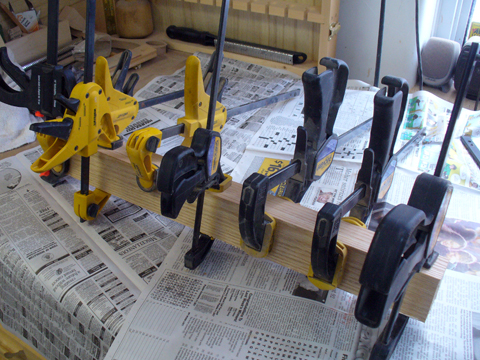
Once all the wood was cut to size I began with the legs. Again, these were done by cutting 4 pieces to width, mitering the edges and then gluing them together with a piece of 3/4″ square wood in the center to give a solid 2 1/4″ square leg:

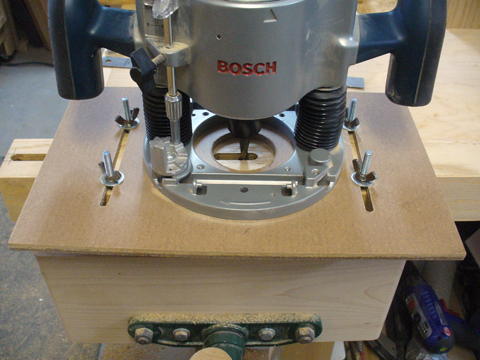
Then it was on to the mortising. Using the Simple Plunge Router Mortising Jig that I made last year for doing the mortises in the coffee table I made all the mortises for both end tables:

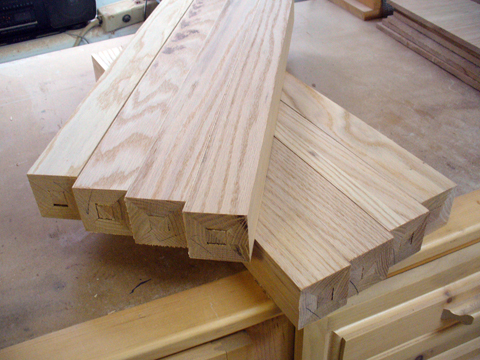
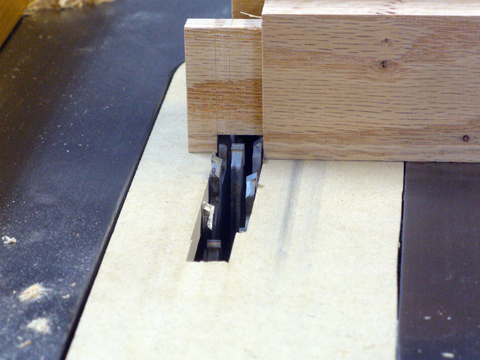
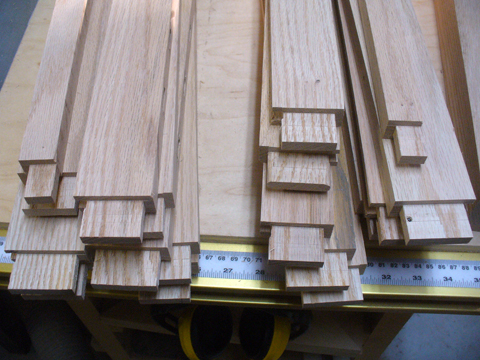
Obviously, the tenons were next:
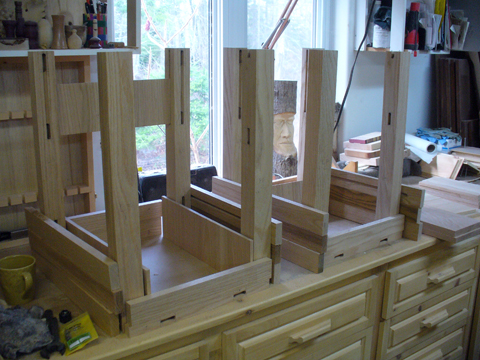
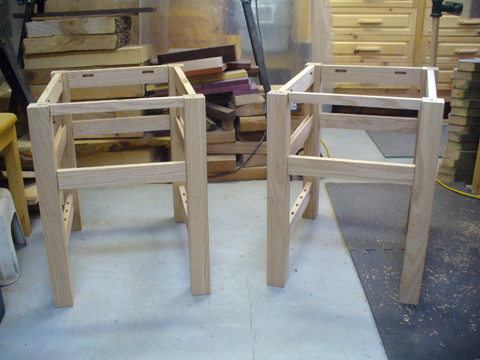
Next, is always one of the fun parts of woodworking, the first fitting where a project begins to take shape:
And here they are with the side slats and drawer skirts:

From here it would be on to the finishing…
Back to the shop…
| Continue reading Part 2 –> |