
With everything fitting perfectly doing the sanding and applying the finish on the Craftsman Style End Tables was next on the list.
Sanding was a lot easier on these tables than on the coffee table because I have acquired a planer since that project. With the old finish planed off a quick sand with 180 grit was all that was required.
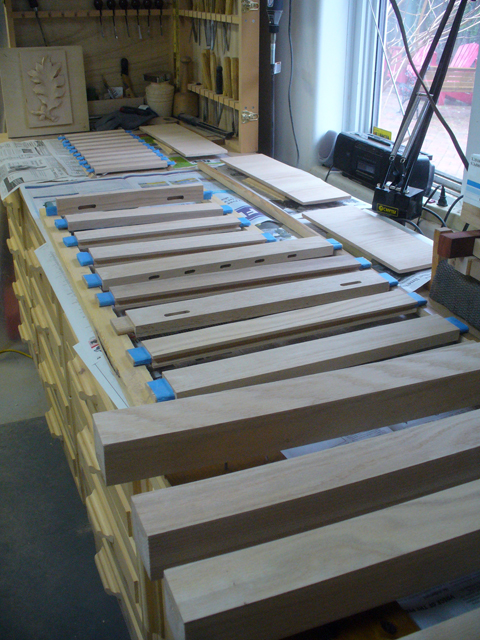
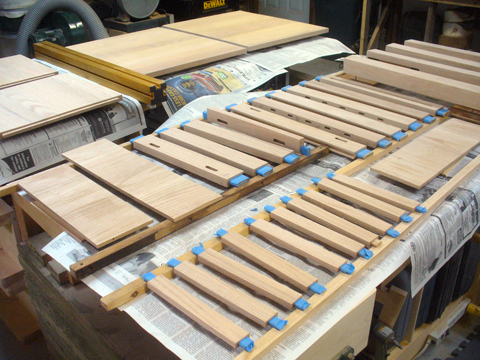
I prefer to apply any finish projects such as these before assembly. It makes it a whole lot easier though it does have it’s downfalls. 🙂
Finishing any project can sometimes be a logistic nightmare. Because finishes require a dust free area unless you have a separate finishing room this means that not only do you have to do a major cleanup of your shop you are also looking at downtime for whatever time it takes to do the finishing. Likewise, depending on the size of your project it is sometimes necessary to use every available space to lay out your project parts.
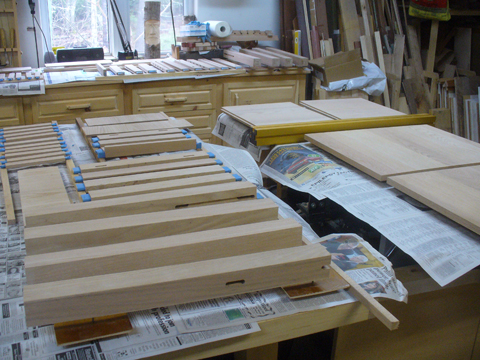
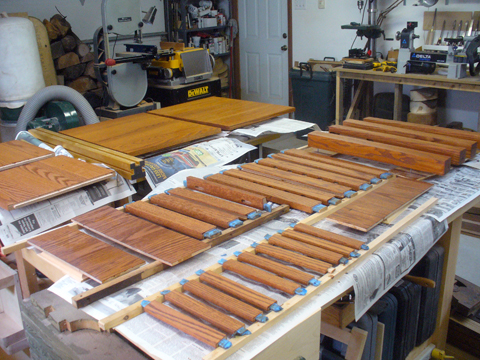
And here are all the pieces with the stain applied:
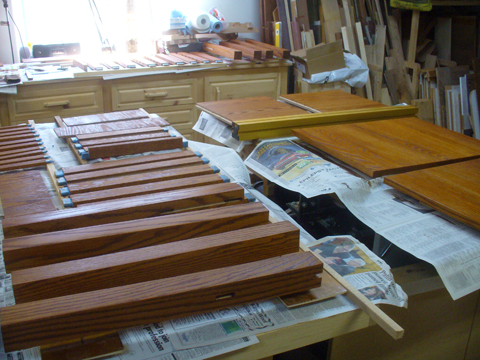
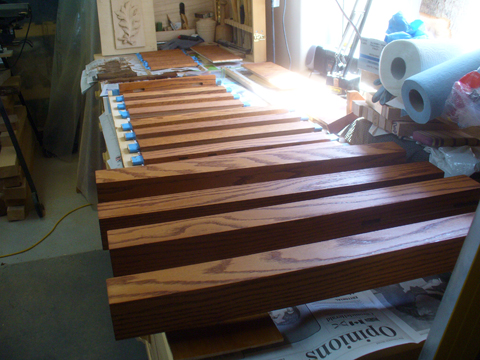
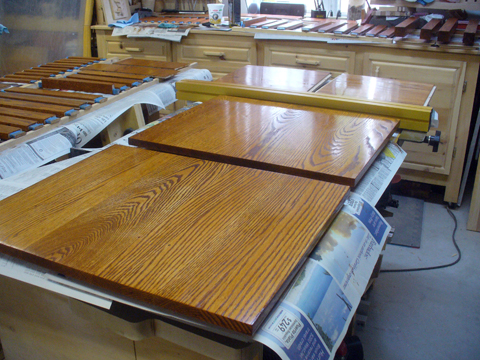
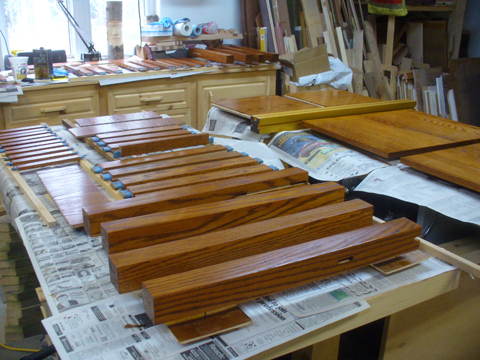
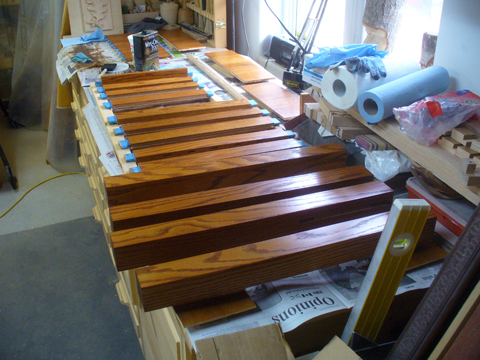
And here are all the pieces with the polyurethane applied:
Now it’s just a matter of letting it all completely dry and then to start the assembly…
Back to the shop…
| <– Return to Part 1 | Continue reading Part 3 –> |