
Once the finish was dry it was time to assemble the end tables. Like the first fitting, the final assembly is an obvious thrill. It’s like putting the pieces of a puzzle together. After each section is completed I get a real rush just standing back and looking at it, running my hands over it, marveling at the few perfections, justifying the many errors and just enjoying the completion of the project thus far. 😉
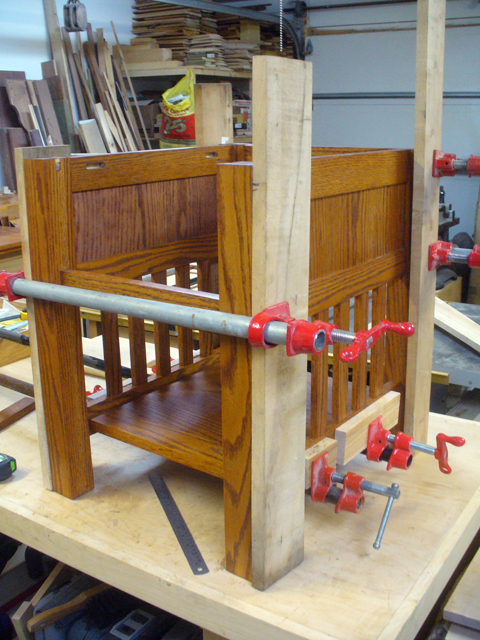
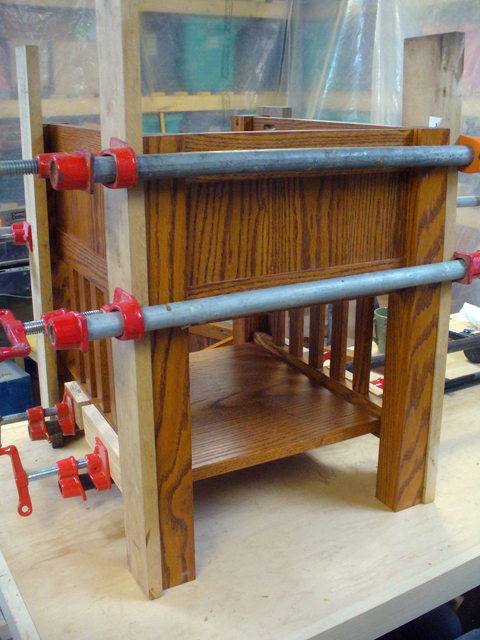
First, the two ends were glued and clamped. This entailed gluing a fair amount of pieces, fitting them and then clamping the sides to hold it altogether. The concern here was ensuring that they were square.
Once the glue was dried the cross pieces, drawer skirt back and the bottom shelf were added to join the sides together. Once again it was clamped, ensuring that everything was square. Particular attention had to be made so that all four legs were setting on the table.
I left the front top stretcher off at this point as a precaution that if it did go out of square during clamping I could adjust it later so that the drawer hole would be square. I glued this in later.
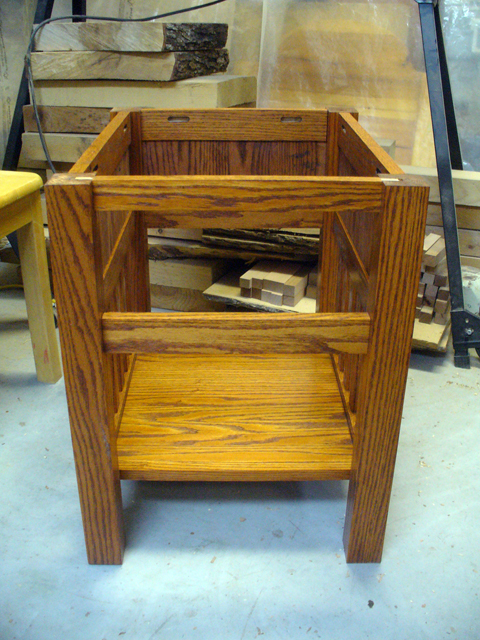
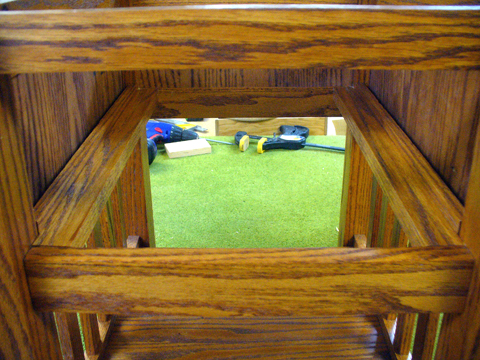
Here’s what it looked like once the clamps were removed:
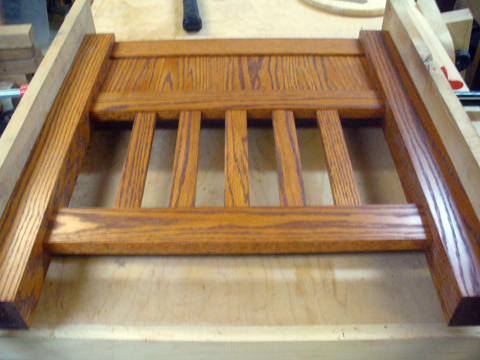
Next, I added the drawer slide assembly. This consists of a pair angles made from two pieces of Oak:
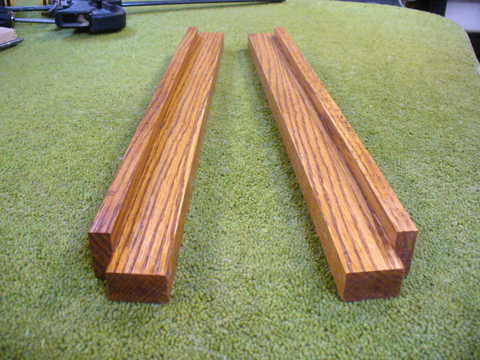
These are fitted in level with the front and back drawer stretchers and held in using pocket hole screws:
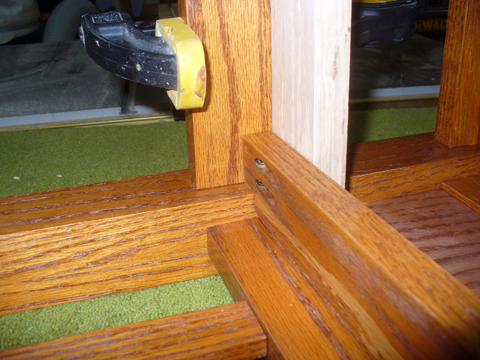
Once installed they offer a channel, or track, for the drawer that will (hopefully!) minimize sliding from side to side:
Next, I made the drawers. For these I used Aspen with Oak plywood bottoms:

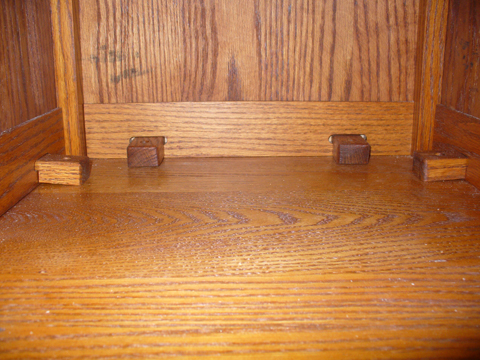
I placed a stop made from a wooden block at the back of the drawer channels so that the drawers would line up with the front when pushed in. To ensure that the drawers won’t come completely out when pulled out I installed a stop that hangs down to catch on the inside of the drawer. They can be pushed to the side, up and out of the way, to allow the drawers to be removed.

And finally, the table tops were attached using the same ‘button system’ used for the coffee table:
Next, the completed project… 🙂
Back to the shop…
| <– Return to Part 2 | Continue reading Part 4 –> |