
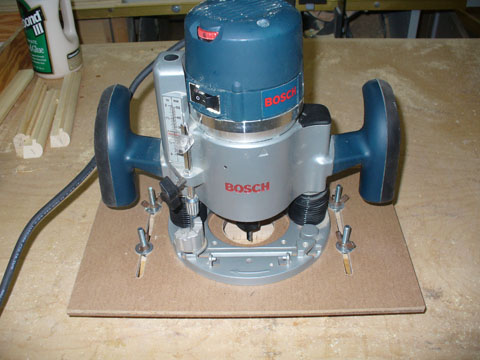
Although there are quite few different plans and ideas for building a mortising jig, as well as commercial jigs available, I chose this one because it’s quite simple and quick (an hour or so) to build – cut 1/4 hardboard (still commonly referred to as ‘masonite’) to size. Drill the holes to match your plunge router. Route out the slots for the guide screws. Cut the guides to length and drill the holes for the carriage bolts.
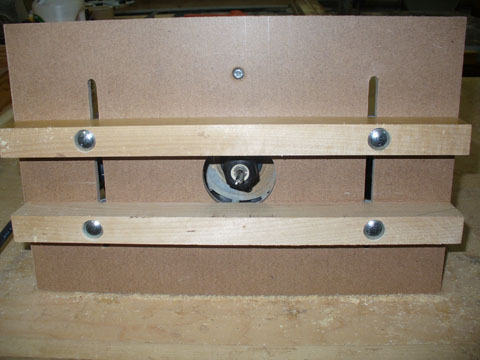
Here’s a view from the bottom:
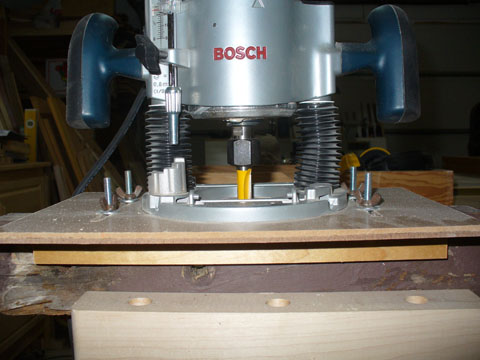
The jig is positioned on the piece of wood that you want to mortise and the guides are tightened enough to minimize front and back movement but still allow side to side movement:
It works great and is a handy addition to my woodworking jigs. Here is a sample of the results:
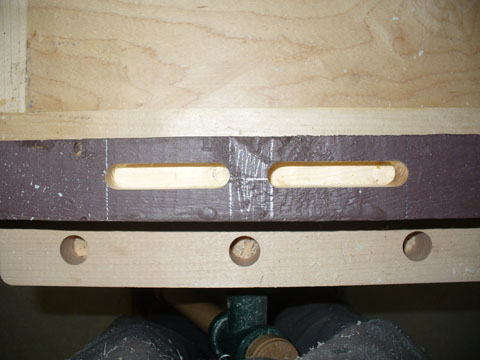
It is best to clamp stop blocks on your wood to be mortised. If not, care must be taken when you reach the end of the mortise with the router bit.
This jig is based on the plans from ShopNotes for a ‘Plunge Router Mortising Jig’ which offers more in-depth instructions.
The one change I will make to my simple plunge router mortising jig, when I come across a piece, is that instead of using hardboard for the base I will change the base to a piece of clear polycarbonate or acrylic plastic like Lexan or Plexiglass. This will allow you to see your work better. It will also double as a large base (with the guides removed) for other projects that require such.
Back to the shop…
T
Mike Green
Very interesting.