Well, they’re finally done! The Craftsman Style End Tables that I started several months ago are finished. 🙂
It’s always a thrill starting a new project and equally as thrilling, no, even more so, when it is finished. Sometimes this is because you are just happy to be done with the project, other times it’s because you are happy with the project. In this case, I’m quite happy with the project. 🙂
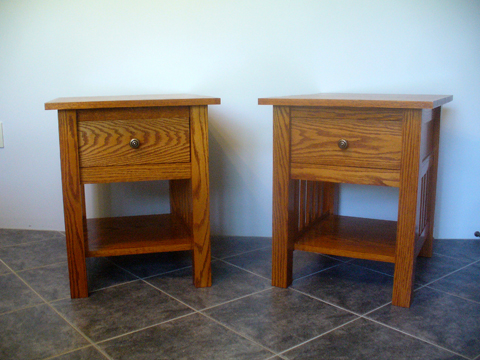
The overall size of each of the tables is 20 1/4″ wide X 24 3/8″ deep X 24″ high and they make a great match for the Craftsman Style Coffee Table made previously.
Although they took me several months to complete the actual time spent working on them was only between 40 and 50 hours. I worked at them periodically, interspersed between other projects. The pieces sat for a couple of months waiting for an opportune time to do the finishing which I knew would tie up the shop for a couple of weeks.
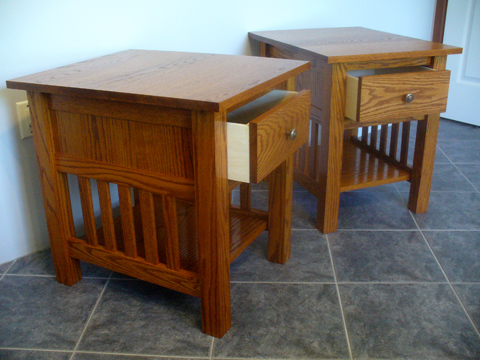
Here are some more photos of the finished tables:
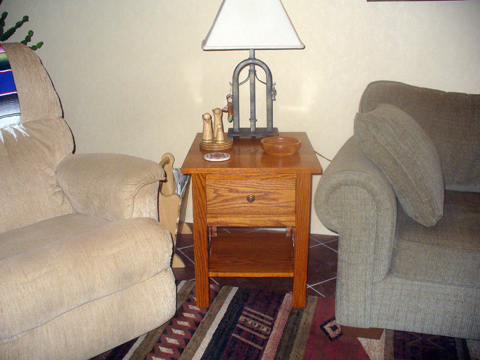
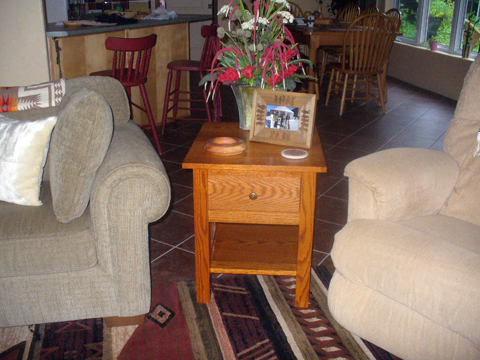
And here they are in their proper place in our home:
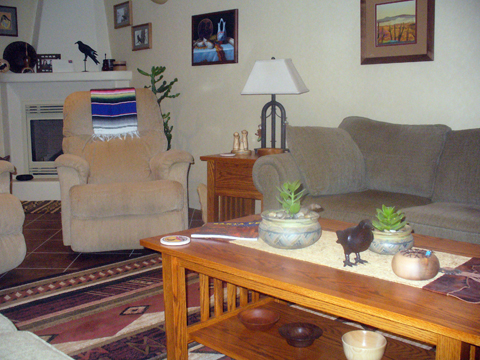
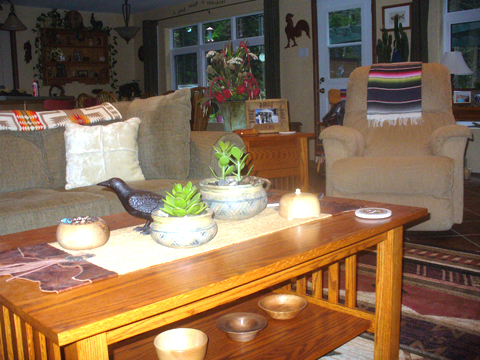
Here’s the cut list and a few notes for this project:
Table Top – 2 pieces at 20 1/4″ X 24 3/8″
Bottom Shelf – 2 pieces at 15 3/4″ X 16 3/4″
Legs – 32 pieces at 2 1/8″ X 23 1/4″
Short Stretchers – 6 pieces at 2 1/4″ X 15 5/8″
Long Stretchers – 8 pieces at 2 1/4″ X 19 5/8″
Short Stretchers (bottom of drawer) – 4 pieces of 2″ X 15 5/8″
Long Stretchers (bottom of drawer) – 4 pieces of 2″ X 19 5/8″
Stretchers (top of drawer) – 2 pieces at 1″ X 15 5/8″
Side Panels – 4 pieces at 5 1/4″ X 19 5/8″ X 3/8″
Back Panels – 2 pieces at 5 1/4″ X 15 5/8″ X 3/8″
Slats – 20 pieces at 10 1/2″ X 1 1/4″ X 1/2″ (rough length)
Drawer Fronts – 2 pieces at 7″ X 16 1/2″ (rough)
Buttons (Sides) – 16 pieces at 2″ X 1 1/4″
All stock is 3/4″ thick
Tenons on stretchers are 1″
Tenons on slats are 1/2″
Frame sits in approximately 2″ from top edge
Bottom stretchers are 3 1/2″ from the floor
Mortises for top are 1/2″ from top and 1 1/2″ long
Slats are 1 3/8″ apart
The stain I used was Flecto Varathane Golden Mahogany.
What have I learned, what would I do differently? Well, there are several things.
First, is to be more critical in the choice of wood, in respect to the grain, for different parts. I believe that with a bit more care I could have matched the grain in the legs better so that, at least for when viewing the front or backs (one of the tables is viewed from both sides), the grain would have been more symmetrical and looked quartered sawn.
Second, still working with symmetry and grain, I should have cut the front top and bottom stretchers and the drawer front from a single piece of wide board. This would have then flowed better as one piece.
Third, the drawers. I’m not completely pleased with them. As all drawers, they should have been dovetailed. When I graduate to a dovetail saw and become competent enough with it I hope to remake them… though probably never will, but the thought gets me through the day. 🙂
However, even with these ‘criticisms’ I am quite pleased with the way the project turned out. I’m looking forward to starting the fourth and final piece for this set, the sofa table.
Back to the shop…
| <– Return to Part 3 |

Phil Carter
Congratulations Ted! They are beautiful and match the coffee table.
Woodworker's Guide
Hey, Phil, thanks! Hope you’re having a great summer! In another couple of weeks and I should have the sofa table to go with the set too!
adam
Nice job that set turned out really good. I plan on building the end tables after the holidays. I dont have a plunge router, so I am thinking about how to make the mortises. I am a beginner at furniture building so I am looking forward to the challange.
Thanks for posting your work. I really enjoy your well documented work.
-Adam
Woodworker's Guide
Adam, thanks for your comment. All the best with your furniture making ventures!