
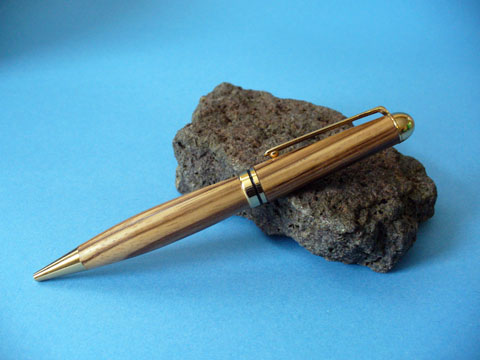
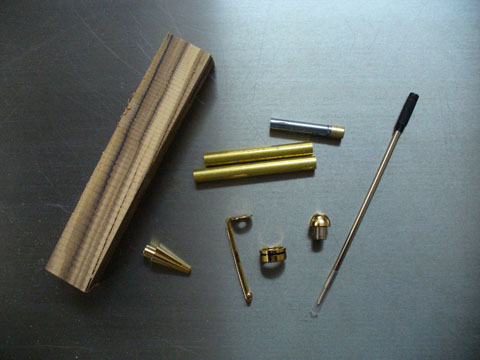
This pen came out extremely well. I am quite pleased with it. Here are the steps that I took to create this pen. First, you will need a pen blank and a pen kit:
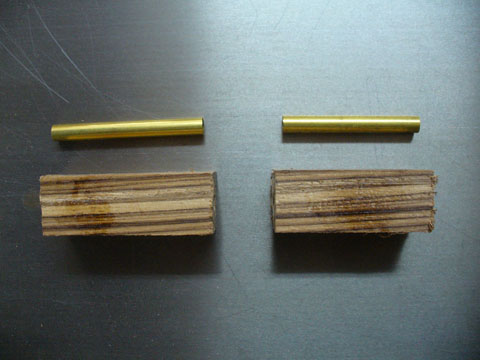
Cut the blank to the size of the brass tubes, leaving a bit extra on both ends for the facing of the blank after the tube is glued in:
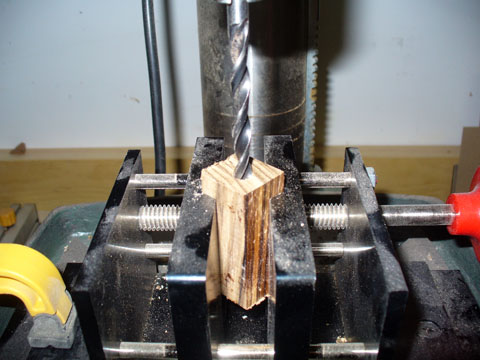
Next, drill the appropriate size hole for the brass tubes. In this case I used the 7mm bit. Here you can see that I’m using the Self Centering Pen Drilling Vise:
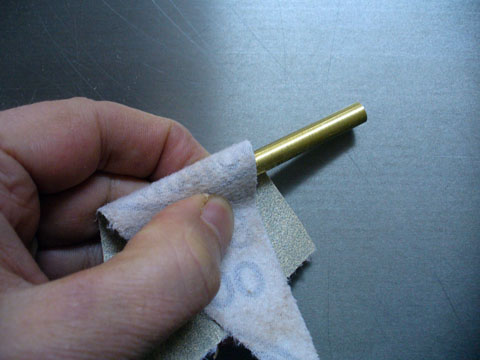
Scuff up the brass tubes with a piece of sandpaper. This is to clean off the oxidation and to give the glue a better surface to stick to:
Spread glue on the brass tubes and slide them into the hole in the blank with a twisting motion. Be careful not to get any glue inside the tube. You can use a number of different types of glue including epoxy and CA type glues. I use Gorilla Glue since it adheres to both metal and wood and it gives more time for seating the tube:
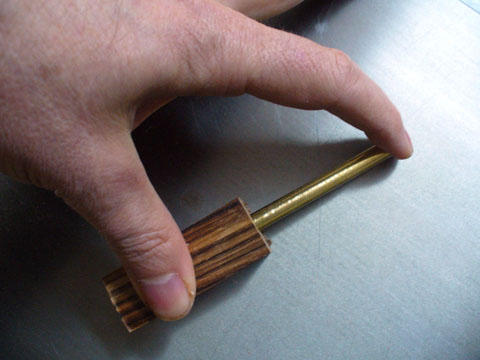
Once the glue is dried square off the ends of the blanks with a barrel trimmer. You can use a hand-held model or use one with a drill press and vise:

This squares the ends of the blanks and ensures a proper fit of the pen hardware:
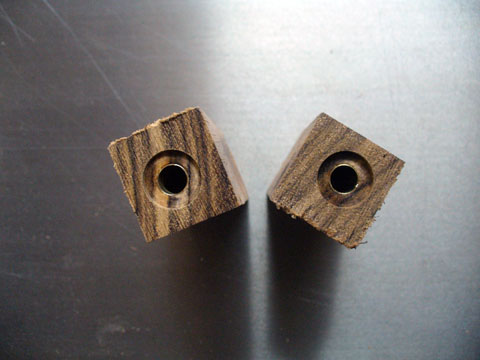
Next, take the pen blanks, correct sized bushings and mandrel for the pen:
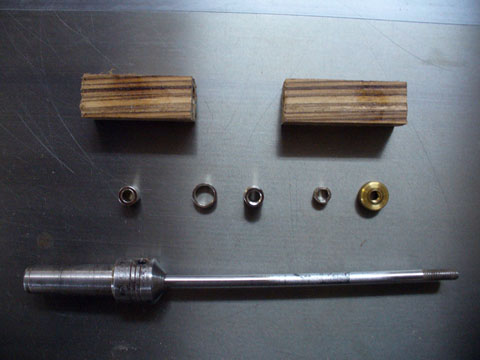
And put them together in the correct order, tighten the end nut making a snug fit. Do not over-tighten as this will cause the mandrel to bend:

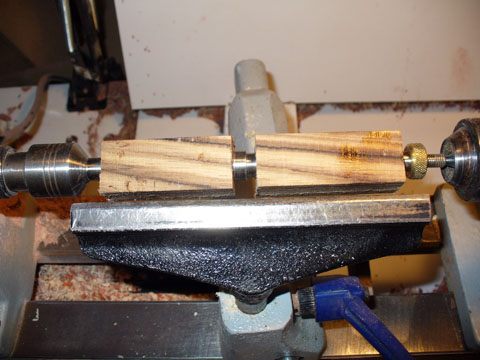
Next place the mandrel on your lathe:
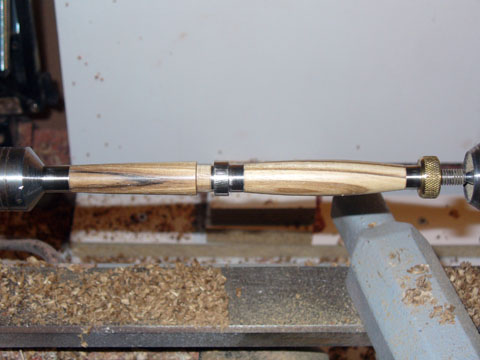
Turn the blanks round with your roughing gouge:

Then shape the pen to your desired shape. Once it is shaped and sanded finish it with your desired finish. For this pen I opted for the Turner’s Polish that I recently bought. It gives a great, high-luster shine that looks extremely well on pens.
Once your blanks are finished its just a matter of adding the hardware that came with the kit. Exact instructions will vary depending on the kit you choose and are supplied by the manufacturer.
Once again, woodturning is a great way to spend a couple of hours on a snowy afternoon. 🙂
Back to the shop…
Ed
Very instructional!