In order to turn the hole in the base we would need the diameter of the finished hollow vessel, so for this session we switched from the base to the Cherry burl.
This was to be the first burl that I turned, or rather, took part in turning. It also was the first hollow vessel.
Positioning it correctly on the lathe was important to ensure that it would rotate properly. It was also important to position it correctly to get the best look since a lot of the wood would be lost on the smaller end of the cone. Obviously it’s pretty hard to tell exactly what the burl will unveil as it is turned but a conscious effort to get the best from the wood was made.
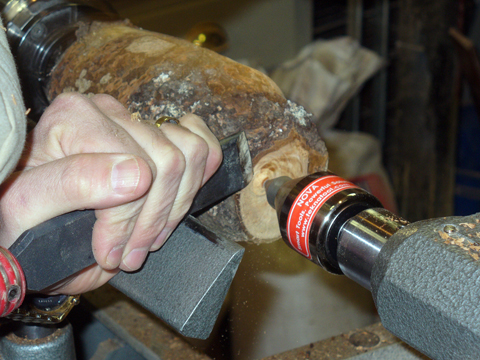
Once it was secured between centers it was roughed to round, the ends cut and a tenon turned on one end:
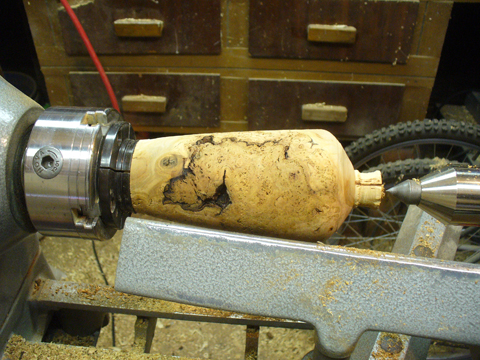
It was then re-chucked and turned to a rough shape. You can see some of the beautiful burl beginning to show up now:
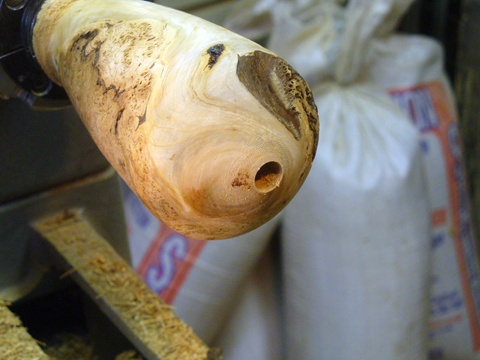
Next, the tailstock was removed and an entrance hole for the hollowing tools was bored in the end to the maximum depth required:
After some turning we check the wall thickness. In fact, checking the wall thickness was a frequent precaution:
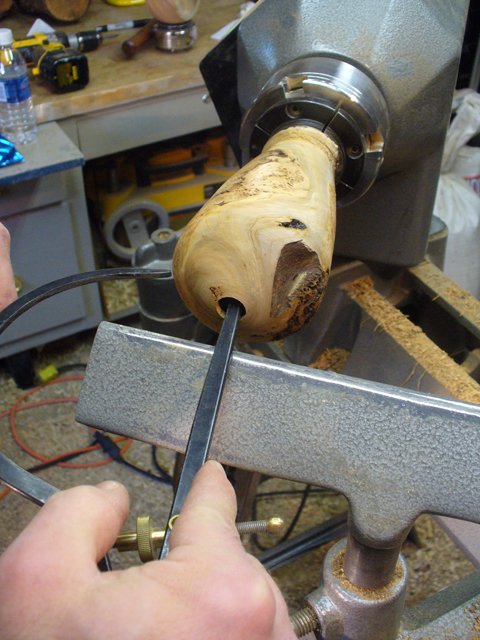
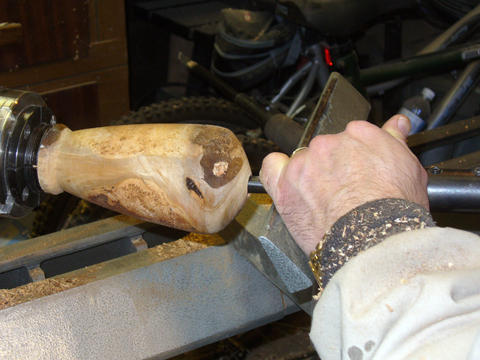
Using the Kelton hollowing tools we proceed to hollow out the vessel:
As we hollow deeper measuring for thickness becomes more frequent. The calipers also give a good ‘feel’ to our progress. At this point you can also see some voids beginning to appear:
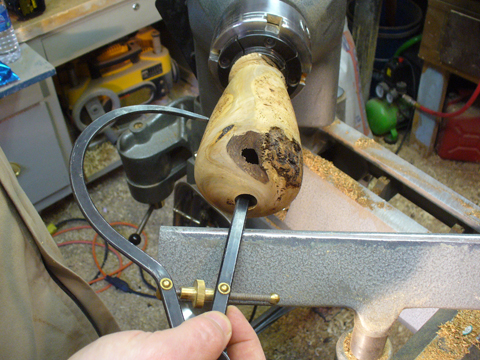
Hollowing out the vessel gave a whole new spin to things. For the most part you are turning by feel, seeing with the mind’s eye. It’s certainly not as aggressive as traditional bowl turning! It is definitely pretty cool!
It was around this point that we finished for the evening. Again, it was a great couple of hours chatting, comparing notes, having a few laughs with a bit of turning thrown in. 🙂
Back to the shop…
